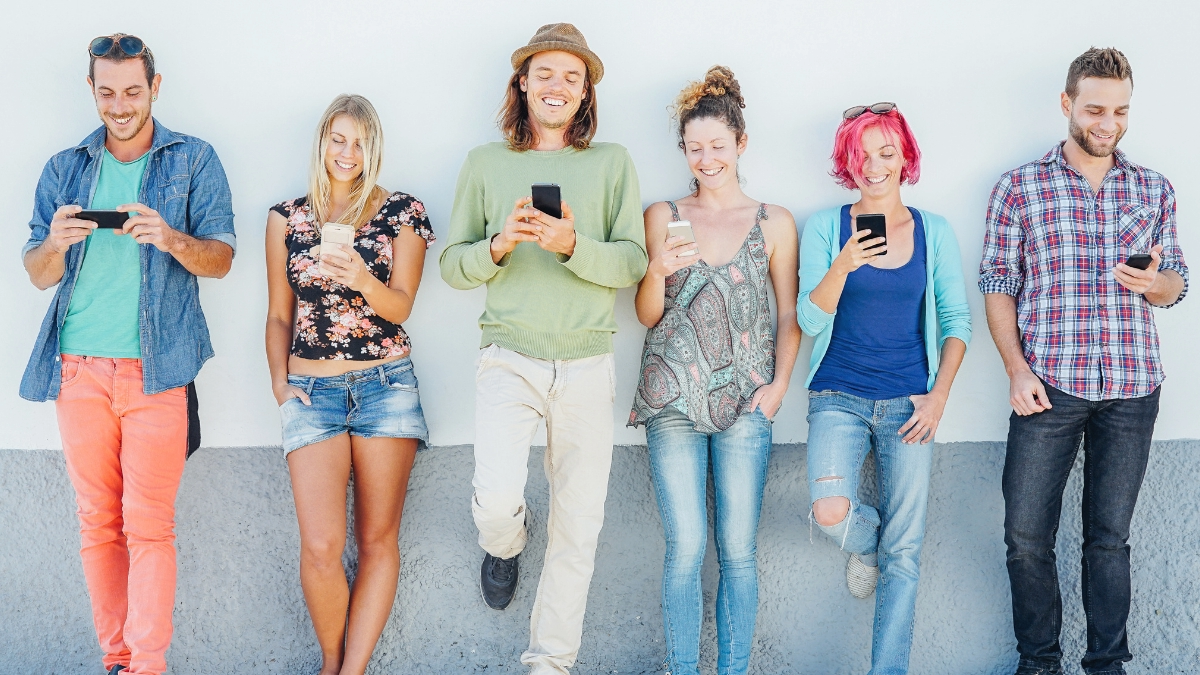
Instagram can be a tricky social platform for many bloggers who prefer to link back to specific blog posts because let’s face it with Instagram you can’t. So in this post, I am going to do two things. First, put forward the case for Instagram and explain what I love about it, and then focus on some tools and techniques to help you make the most of the app and see its benefits as part of your blog outreach.
Why I like Instagram
One of the things I love most about Insta is the lack of hate and malice which is very prevalent on Twitter. It is not perfect, you still get spamming but it is simple enough to delete a comment and you can block people if necessary. But above all, it is such a supportive platform. In my experience, 90% of everything I have seen has been kind.
It is very visual but bold quotes can be very successful too. For many years there was a belief that everything needed to be perfect, the only images you saw were of people living their best life. Although this is still true for some people, there are a lot more people who now keep it real.
Due to the visual nature of the platform, you can easily build brand identity by using your brand colours in images or quote blocks, not to mention using the same filters on images. A cohesive grid is a better ambition than a perfect life story.
Instagram stories are such a great way to connect with people. They can be pinned into collections to help build a story for new followers but equally, they can be gone in 24 hours. This is perfect if you are going through a flare and just need to touch base with people and let them know what is going on.
Designing you Images
There are three main categories when it comes to your feed images: photos, graphic designs and quotes. I try to use a combination of all of these for added interest. The next thing to take into consideration is where you are doing the work, on a desktop/laptop or on your phone. I will give you some options to consider for both.
Creating Images on the desktop
I am going to presume at this point that you are not an artist/graphic designer because let’s face it, you wouldn’t be here now, would you. I would no doubt be learning from you. So although Photoshop, Affinity Photo and Procreate are tools I have and love (and I’m gradually improving my skills). They might not be something you are comfortable with. There are easier options though.
Canva
There is a pretty good chance you have heard of Canva. It is created for non-designers to create eye catching images quickly. I have used it in the past and thought it was pretty good, although to really get the best out of it a subscription is required. You can’t for instance save your branding images and colours without one.
Vista Create
I actually use Vista Create* when I want to create images quickly or I am not feeling very creative and I want to choose a template for inspiration. (*This is not a sponsored post but it is a friends referral and using this link you can get 25% off if you want to upgrade from the free plan). Vista Create (or Crello as it was known when I started using it) is newer and less well known than Canva, but this means they are working harder to grow and improve.
Spark
Another option is Adobe Spark, this again has a free plan but if you upgrade you can use the branding tool. I sometimes use Adobe Spark too!
How I chose my desktop design tools
At the beginning of my blogging journey I used Canva and ended up paying for the Pro subscription. Then I discovered Crello as a new tool, I grabbed it fast and paid for a one time purchase, lifetime subscription. So I have it to use whenever I want and quite often do use it because I like their tools and graphics.
For a couple of years, I had an Adobe CC subscription and used Photoshop and Illustrator as well as Premier Pro. I still found myself using Crello more often than Spark. As the burden of the CC subscription just became too much I began using Affinity, firstly Photo, then increasingly Designer. The beauty of the Affinity tools is they are a one time purchase. Michael already had them and with Apple family sharing, I can use them too. I have since purchased Affinity Publisher as well.
As I have been working more to improve my artistic/design skills I have recently begun to learn Procreate. If you follow me on Instagram I am sure you will have seen some of my stories featuring using it. Although I think Affinity Designer is every bit as good as Adobe Illustrator and I don’t miss it. I do have some Photoshop actions which only work with Photoshop. So I have decided to compromise and grab the photography plan.
With the photography plan, I have access to Lightroom which I don’t believe Affinity really competes with as well as Photoshop, Spark Pro, Bridge, Premiere Rush, XD and Adobe Fonts. Another bonus of having Photoshop is there are so many tutorials and resources made for it. If you are wanting to improve your image work I really recommend the Adobe Photography subscription, then you can use Spark immediately while taking your time to learn photoshop. The best of both worlds.
Mobile Image tools
Given all the tools I use on the desktop, I would forgive you for thinking I never edit/design images on my phone. But no, I do and I have a selection of tools there too. I’ll start off by mentioning that Crello, Canva and Spark all have mobile versions too. Speaking from experience you can’t do as much with Crello mobile as you can the desktop version. These are some of the other tools I use a lot (mine is an iPhone and it is a while since I have had Android so I can’t guarantee they will be available:
A Color Story
This app was created by Elsie Larson and Emma Chapman, the sisters behind the blog A Beautiful Mess, they are bloggers too so they understand the value of good images, it is a great app for adding filters to your photos. I believe you can also use it for planning your feed, but I don’t do that.
A Design Kit
This is another app from Elsie and Emma, it allows you to add all sorts of decorative elements to your images. I often use it for my finishing touches (especially on my stories)
Template
The Template App was created by Elsie and Emma together with Zoe Sugg, it does just what it says on the tin, allows you to create great templated images. If I am creating and posting images from my phone there is a 90% chance I will be using Template.
How I chose my mobile Apps
This one is a lot more straightforward. I have been watching Zoe Suggs videos for a few years. When she mentioned they had launched a new pack for Template, I couldn’t believe I hadn’t heard of this before. I checked it out and loved it, this led me to find A color Story and a Design Kit, not to mention Filmm which is the video editing tool the three of them created together.
Upskilling your Instagram game
Phew, now we have covered tools for creating your Instagram images. In terms of how to use them I have created a roundup of great places to access training videos and courses in Notion, I have made it a public document for you to see it too. It is not editable because let’s face it anything completely public on the internet is open to abuse, but let me know if you find a useful link to add which will help us all.
Planning your Instagram Feed
Ok, I am going to be completely honest and say I was doing this really well and then got behind and find myself missing days or struggling to think what to share. I really recommend getting ahead with your Instagram Feed and I will share with you how I did this (and will be once again doing this myself).
Frequency of Posts
Concentrating on your grid rather than stories, you really need to be adding at least one image a day, two is preferable. When I was prepping ahead and following my plan my Instagram following was growing, since I have slowed down to one a day (with some days missing) my growth has slowed too!!
I previously planned one week at a time and I recommend this as a minimum. I know a lot of people work monthly as part of an overall blogging time blocking strategy. When it comes to being present it the moment, that is where the stories come in.
Tools for Planning your Instagram Feed
As you may know, I use SocialBee for several platforms, I talked about it in the post SocialBee for Spoonie Bloggers but I don’t use it for Instagram. I think a visual planning tool dedicated to visual websites is better. So I now use these tools for Instagram and Pinterest.
Planoly
I am currently using the Solo level account at Planoly to manage the Instagram (and Pinterest) account for Living Creatively with Fibro. I’ll be honest I am only actually sharing the new blog images to Pinterest at the moment. I need to up my Pinterest game, it is on my radar, but I wanted to focus on Instagram first.
Later
I am currently using Later for the Instagram Images for this blog, Creative Fibro Digital Guru. However, I am using a free level account so I don’t have access to as many features. I initially set up a separate Pinterest account for this blog and was going to manage it through Later. However, due to the nature of Pinterest using boards, I have found it easier to have one Pinterest account for both blogs and will close the other account.
Choosing a preferred platform
I have been considering possibly upgrading either of the platforms to have the graphics for both blogs but I don’t think it is a move I wish to make at this stage. There is very little difference between switching from one social profile to another in an account and switching between accounts in tabs. The only thing I haven’t done is try a paid account at Later to get a true comparison.
An Important Differentiation
If you currently don’t use any social media scheduling tools Later allows you to schedule Facebook and Twitter as well as Instagram and Pinterest (even in the free account). That may be a deciding factor for you. At the free level, they both let you post 30 images from each account a month. On the paid level (for one set of socials) Planoly lets you increase your Instagram images to unlimited while Pinterest remains on 30. Later meanwhile gives you 60 images a month for Instagram and Pinterest (in terms of scheduling) but also an unlimited library of uploads.
I can truly see benefits to both and no Planoly vs Later comparison video has completely sold me in either direction. Of course, there are other options like Tailwind which is more expensive but when I really up my Pinterest game I may decide to go with this (just for Pinterest). And use the Unlimited Solo Planoly for Instagram.
Link in Bio
When it comes to the link in Bio you could just put a link to your blog homepage, or you could use a tool like linktree, however I think you can do something much better. As you may know I have two blogs. Although they have separate Instagram Accounts, they are sister blogs and I fully expect they to have a crossover readership. So the way I tackled this was to create a third blog with a name that ties the two together. (You don’t need to do this but I wanted to, so I could add my shop).
On your blog (or one of them if you have more than one) create a specific landing page to be your link in bio. If you check out my link page you can see how I have done this. I have used the plugin WP RSS Aggregator then created a list for each of the blogs. Underneath that there is also a video for the YouTube channels. Each time I publish a new blog post these lists are updated automatically, so I don’t need to do anything. But I may well add links to the Instagram accounts, Pinterest and Twitter to provide a full overview wherever someone has come from.
Instagram Stories
When it comes to Instagram stories I admit I am slacking, I often go a few days at a time without doing anything. When that happens, again, I notice everything slows down. However, the beauty of stories is they don’t have to be as cohesive. You can be as fancy or as simplistic as you choose. The stories is one of the best places to keep it real, if I am having a bad head day and I need to use a forehead strip, I am likely to upload a quick pic. It is a really good way to keep it real and be present with people.
Types of stories
There are so many possible approaches when it comes to your stories and the people who nail it (both big and small follower accounts) use a combination of all of these:
- Quotes with a nice background
- Images that don’t quite make the grid or look better in longform shape
- Short talking to camera video clips (I need to do more of these as they are vital really) – with or without filters
- Sharing other people’s content that fits with your message and vibe
- Throwbacks to previous years
- Get to know me lists / recommendations of accounts to follow
Instagram Reels
I’ll be honest I don’t know very much about reels yet, I have made one very basic one. But up in the training document, there are channels that have covered them so this, again, is on my radar of things to improve. Once I am up to speed I will update this post with the best info I can find.
Why Use Instagram?
This is a bit of an afterthought. But I thought it was worth mentioning. If your main aim is to grow your blog and you are wanting to review products and possibly do sponsored posts. Many companies wish to see a decent selection of social media account that you are active on and Instagram is increasingly becoming a popular choice. Twitter moves so fast that things can easily get lost and Facebook hashtags are not as effective. If Instagram is not a priority now I completely get it, but I recommend putting it on a backburner rather than dismissing it.
Would you like to see a similar post about Pinterest in the future? Or perhaps you have another request? Drop it in the comments below or send me a message and I’ll look at scheduling it.


This is amazing, helpful content about instagram. Thanks so much Susan. I am a newbie on insta so this is just what I was looking for to get started. I particularly liked your section ‘Tools for Planning your Instagram Feed’ as I didn’t know these existed and i am excited to check them out.
You are welcome, I am glad you found it helpful. These longer-form blog posts including things like the added document (or videos) are the way I am planning on going with all my posts across both blogs. I actually use my Instagram caption as a micro-blogging space where I give snippets of information or updates on what is happening (in flare-up times) so you may want to follow my CreativeFibroDG Instagram account as well as my first one ????